


Despite being one of the first agents in the game, Brimstone has struggled to break into the meta. With the recent rework, however, he is now a must-have controller on many team compositions. In this article, we’ll teach you how to level up your Brim gameplay to dictate the tempo of your games and lead your team to victory!
Stim Beacon
- Cost: 200 credits
- Duration: 12s
- +10% equip speed, +15% fire rate, +10% reload speed, +10% recovery speed, +15% speed boost
The wide-ranging buffs make the stim beacon extremely useful in a variety of situations, from exploding onto a site to enabling faster rotations to catch your opponents off guard. It’s a particularly powerful tool when your team is on an eco, as the increased fire rate for automatic weapons gives the Spectre an edge even against rifles.
Other opportunities to strengthen a thrifty round include pairing it with a shotgun since you can close distances in less time. Especially with Neon gaining some popularity as a pick at the top level, you can give your Neon teammate even more speed to surprise adversaries with a shorty or judge at close range!
Stuck in a bad spot? Throw down a stim to help you escape faster. The enemy might think they have you pinned but you can swing much wider than they expect and gain the advantage. Of course, you should still try to peek together with a teammate so you can be quickly traded if you lose the duel.
Using a stim pack also allows you to break Sage walls almost instantaneously, denying the other team of map control and providing an opportunity to get a pick before they can react.
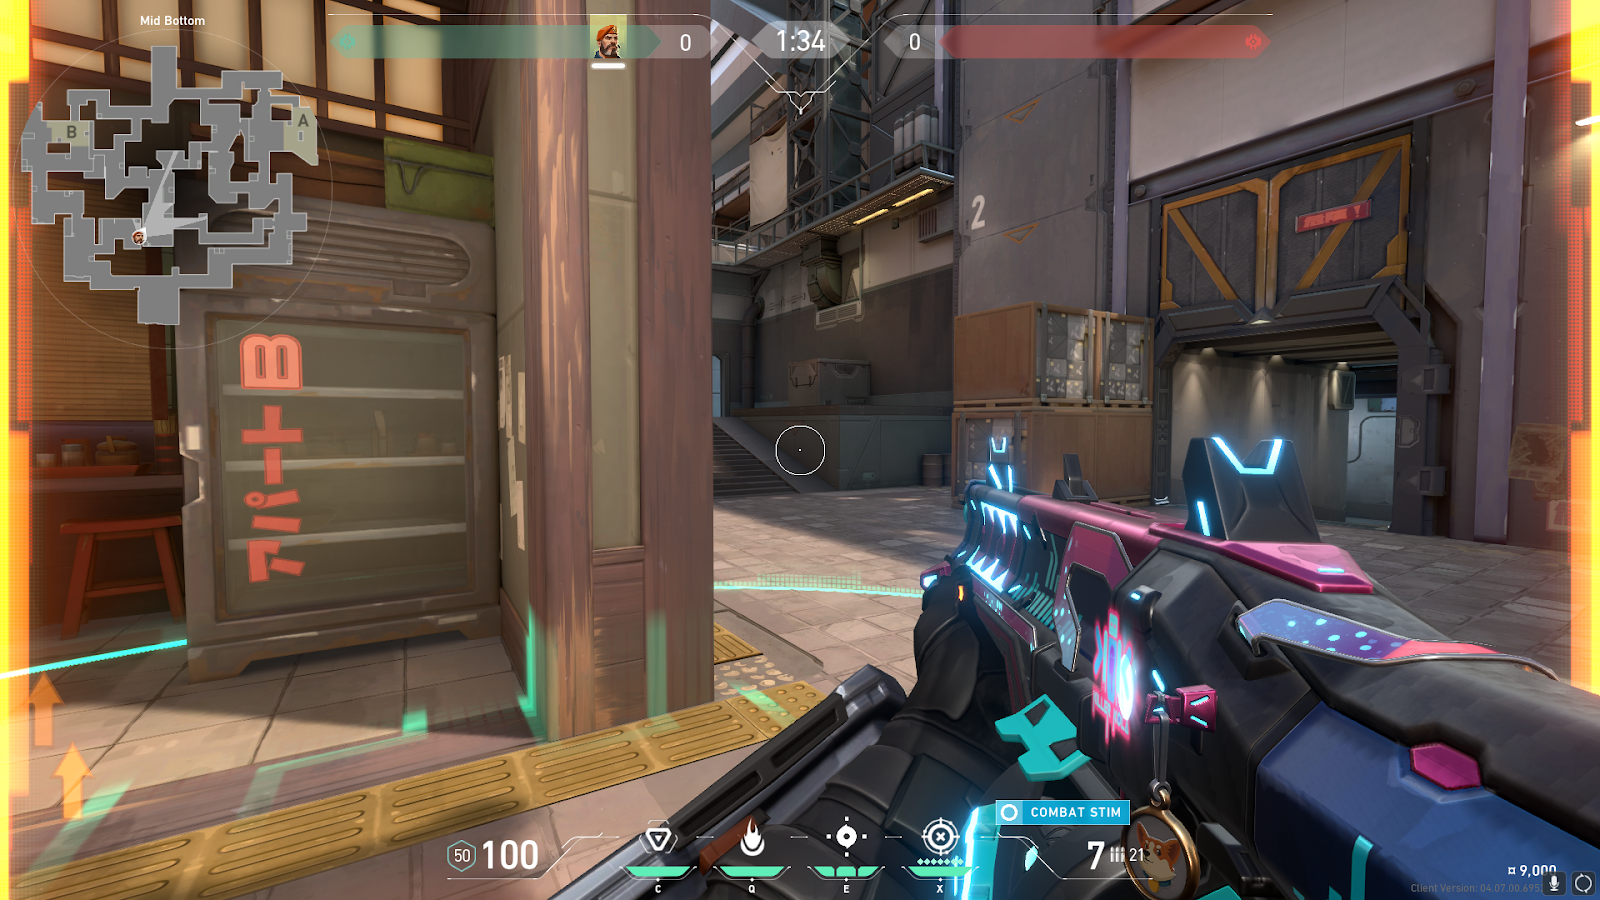
Make sure you’re strategic with your usage though, as the recent nerf means you can only use one per round. There are many viable ways to make the most of the boosts, but knowing which is best in a given situation can win rounds.
Incendiary
- Cost: 250 credits
- Duration: 7s
- Damage: 60/s
This is perhaps the most overlooked piece of util in Brimstone’s wheelhouse. Between his trademark smokes and the exciting nature of the latest stim beacon buffs, it’s easy to forget the versatility of the Incendiary!
On defense, your job is to buy time for your team to rotate by anchoring the site, and the molly is perfect to help you slow a push. Pairing it with a smoke is even more powerful – you could wait until your opponents attempt to flash out of it, or use sound cues to time it right. Another strong timing is just as the smoke is about to fade – if they are preparing to push as soon as it goes, this will delay them even further.
Mollying off angles is a good way to isolate fights and limit the angles you need to focus on. For example, if you’re waiting for someone who could peek you from either side of a wall, firing your incendiary grenade to the left forces them to push from the right, or go through the flames and make themselves easier to kill.

There are many opportunities for team synergy by combining it with other util too! If you coordinate with your team to Breach stun or Sage slow an angle at the same time, you can deal way more damage as the enemy won’t be able to escape as quickly.
Line-ups may be a useful post-plant defense, but ensure you aren’t too focused on them as often you can get more use out of using the molly mid-round. Learning a few for defaults or other common spots can be helpful to deny a plant or defuse. With a bit of practice in The Range, you can even improvise them.
Simply ping on the map and make note of the distance displayed underneath the ping, then work out the height at which to fire the ability to reach the ping. When in game, you can ping the desired location of your incendiary and use the distance to give you a rough idea of where to aim.

Just be mindful of its bounce! The incendiary will always bounce at least once before deploying, which as well as delaying it slightly, can also alter its final position. Many a Brim player has lined up the perfect clutch-winning molly only for it to land somewhere they didn’t intend. This is also the case for unexpected invisible walls or parts of the map that could block an attempted line-up.
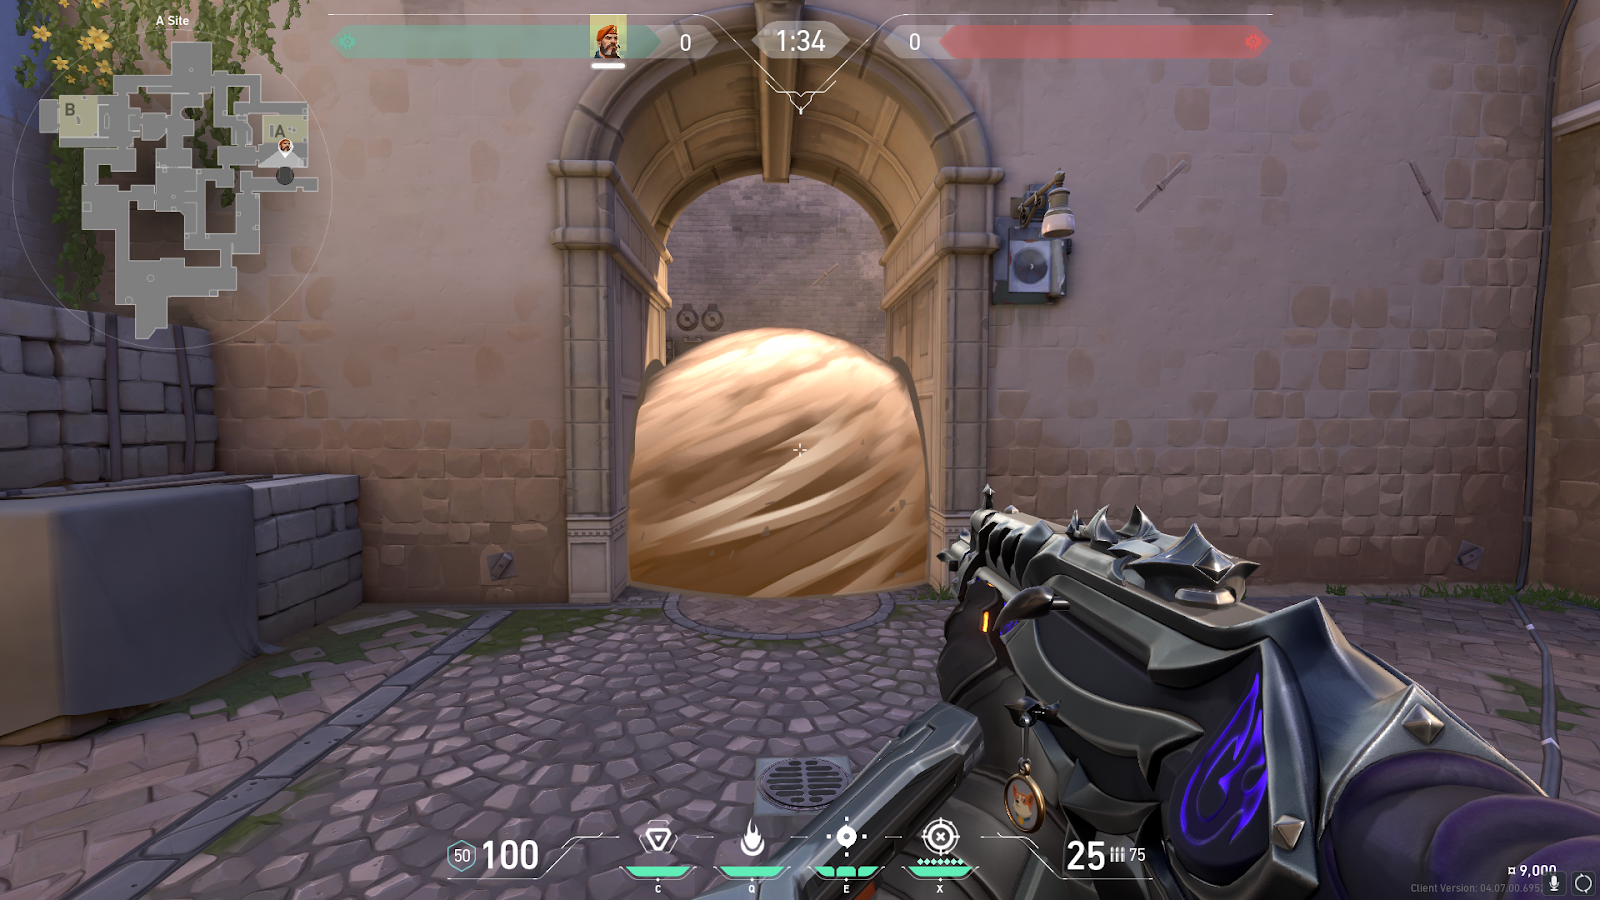
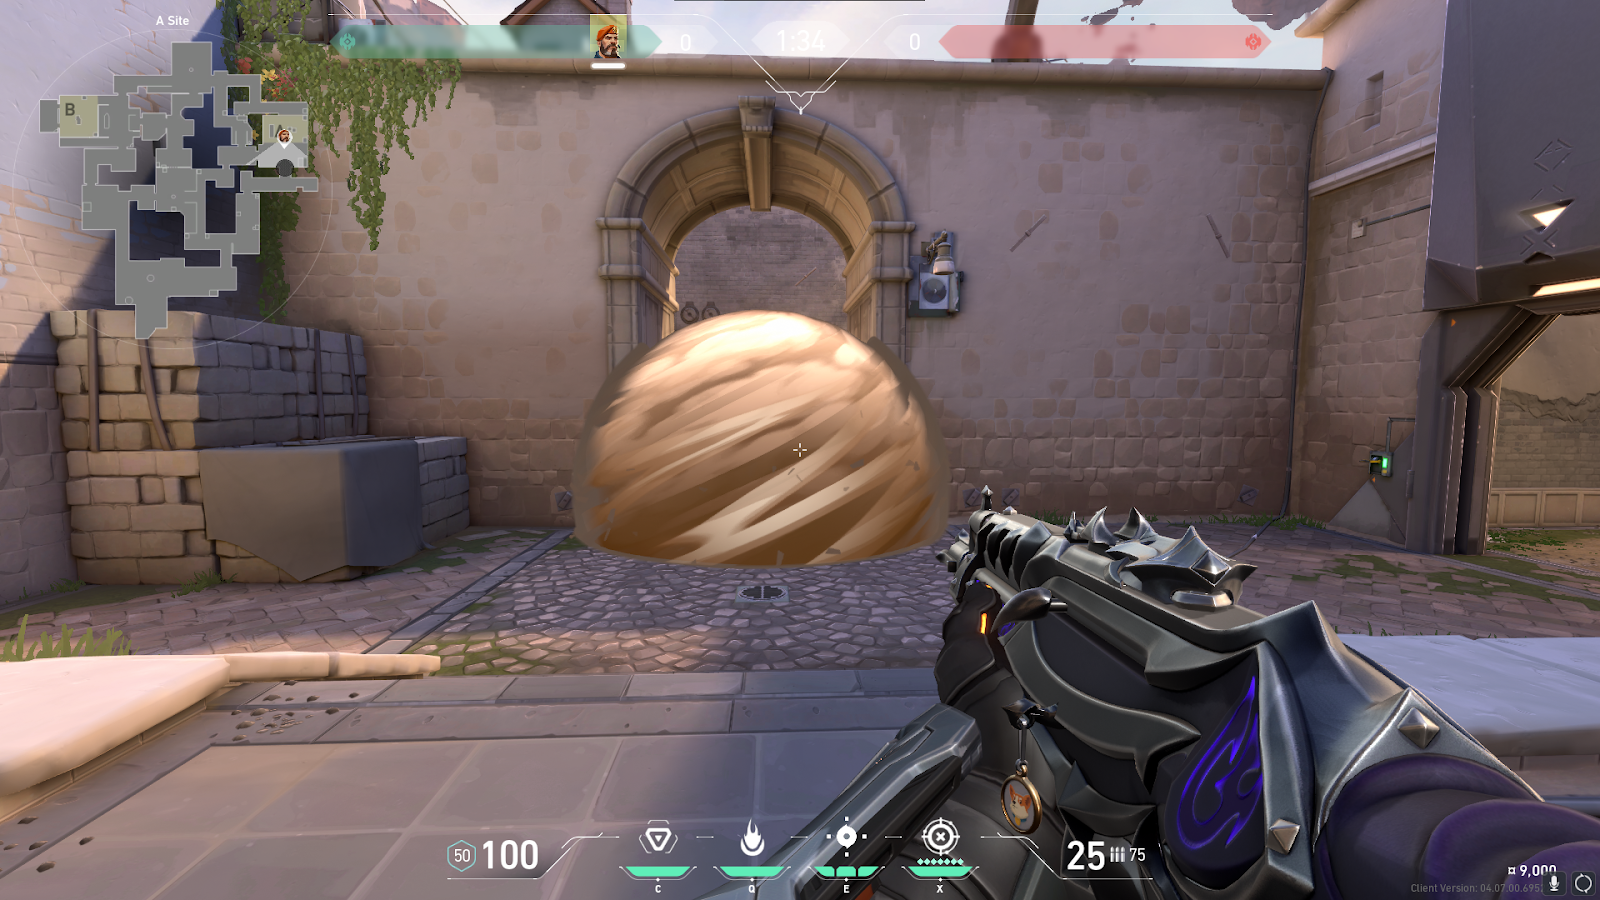
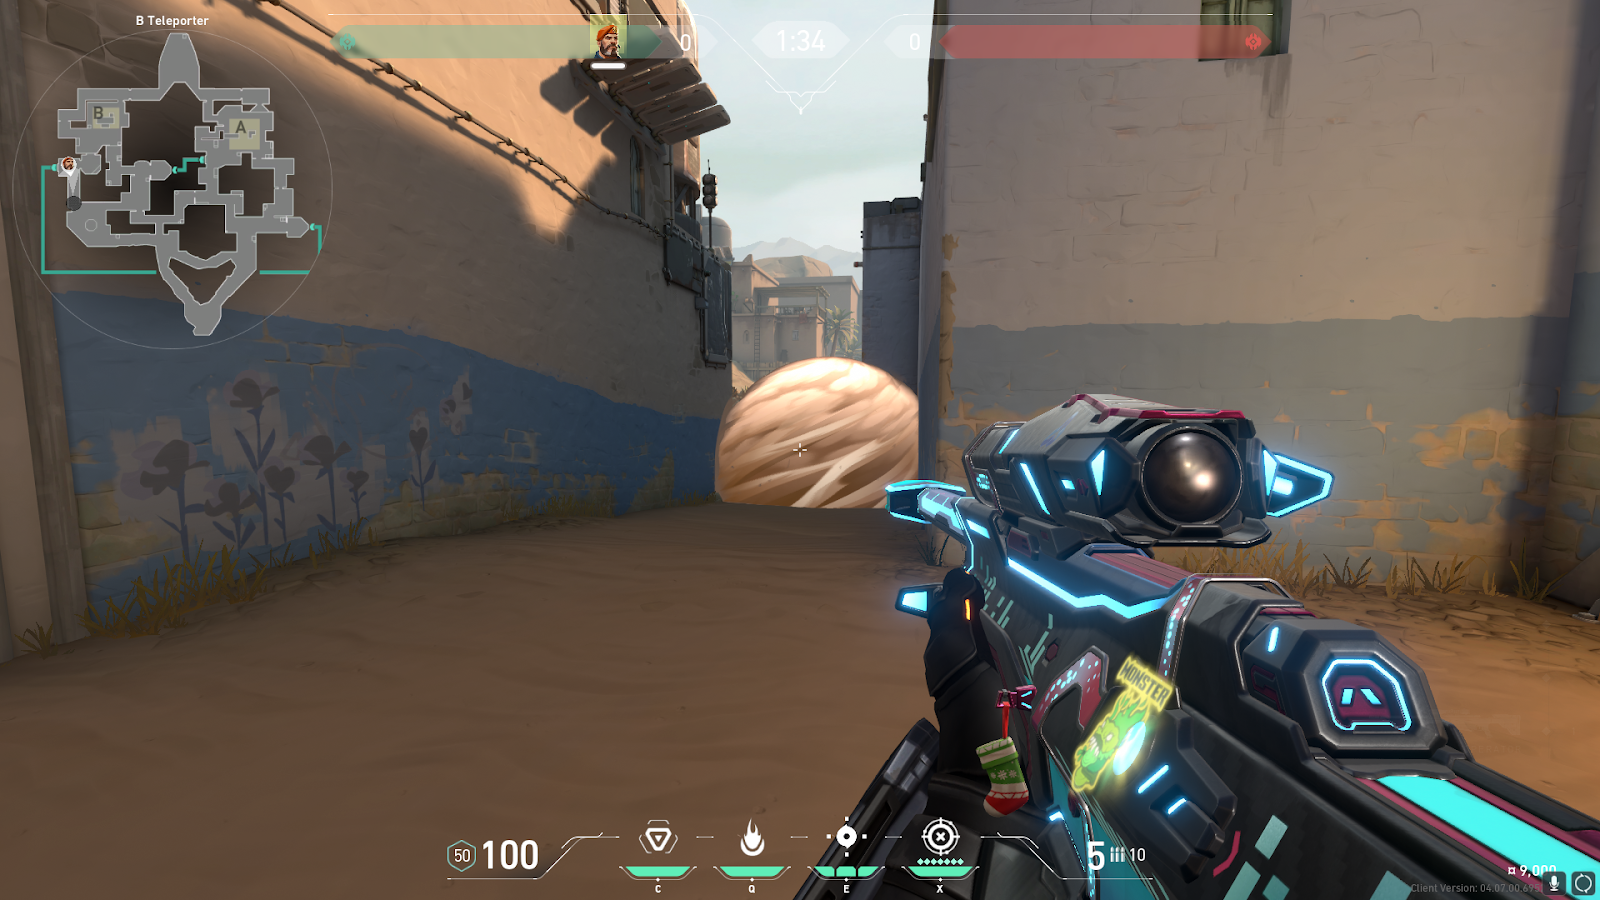
Sky Smoke
- Cost: 100 credits, up to 3 total
- Deploy time: 1s
- Duration: 19.25s
Similar to the incendiary, smokes are a great way to neutralize an attack or grant entry to a site. They have the added benefit of denying vision, including when inside them, unlike Astra or Omen smokes. The golden rule is to make sure your smokes aren’t too shallow as you could make it easier for the enemy to push through.
Via: Valorant
Via: Valorant
Be cautious of the deploy time when preparing to execute, however! Good communication with your team is required to ensure no one peeks into an Operator with full vision! Timing is crucial to get the full value from your smokes. If you smoke too early, you can prevent yourself from getting valuable information.
On the other hand, a fast smoke can give you lots of immediate map control and enable you to take aggressive angles without being seen getting into position. An example of this would be B long on Bind – smoking deep allows you to cross to the teleporter and peek from the left. Even if you don’t play from there, creating that opportunity forces your opponents to keep the possibility in mind and clear that angle every time. You could even catch them looking the wrong way if you swing from the site at the right time.
If you want to mix up your offensive approach, you can try creating a chain of smokes and run through them with your team. This prevents your foe from being able to see exactly where you are and gives you multiple exit points to burst out of and catch them off guard.
Be mindful that this isn’t always as strong as just smoking the usual angles as you end up with less site control and rely even more on getting those opening picks, so you shouldn’t do this every round. You also need to make sure to push out quickly as the enemy will probably start spamming the smokes immediately. This can help you to catch a timing on them if they have to transfer their spray when you peek.
Lurking inside your smokes on occasion is another way to surprise your opponents. You’ll see the barrel of their gun as they enter and be able to shoot first, just like when they exit, but they’re much less likely to flash into the smoke than out of it. Sometimes you could even push your own smoke, but only when you’re sure the entire enemy team isn’t on the other side! It’s a very high-risk, high-reward play that could be worth trying every once in a while.
Other strategic placements include one-way smokes, which are a little more difficult to place correctly on Brim than other controllers, and deliberate gaps you can leave to exploit later (though bear in mind this goes both ways).
Orbital Strike
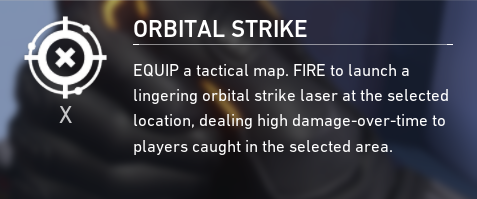
- 7 points
- Deploy time: 2s
- Duration: 3s
- Damage: 20 per tick, 6.67 ticks/sec
When you know the location of an opponent, the Orbital Strike can get you an easy kill! Ropes on Split or lamps on Bind are examples of great places to get a pick. Spam through the ult to get the final few points of damage needed for the kill. A well-timed response to spike sound cues is also a powerful tool to deny a plant or defuse.

Just be mindful that you can’t rely entirely on your ult to win, as it’s possible to get half on the spike if it’s deployed just after you hear the defuse sound. For this reason, it’s often combined with a molly lineup to deal even more damage.
You don’t only need to use it when you’re certain of a kill, however. It can be just as valuable to prevent a push or clear an angle in some situations if you don’t have a smoke or molly handy. For example, if you need to defuse the spike in a 1v1, ulting in front of the enemy instead of directly on their position is more likely to succeed as they will take more damage if they try to push through it.
Just make sure you’re prepared to take a fight after deploying your ult. You’re forcing your foe to move position quickly and they may run towards you – this should be an easy kill, but only if you’re paying attention! You might force a Raze satchel or Jett dash too, so be ready for potential fast movements!
That’s it for our Valorant Brimstone guide – now go get some easy RR!
PUBG, Fortnite, Whatever-Game fanatic. Food evangelist. Internet ninja. Friendly communicator. Twitter fan. Zombie fanatic.