


Killjoy is an agent who suits a slower playstyle, as the strengths of her utility lie in setups. She is very defender-sided, however if someone does push the site she’s on, she can anchor it all by herself! In this article, we’ll teach you everything you need to know to keep your site locked down, as well as how to make the most of her on the attacker side.
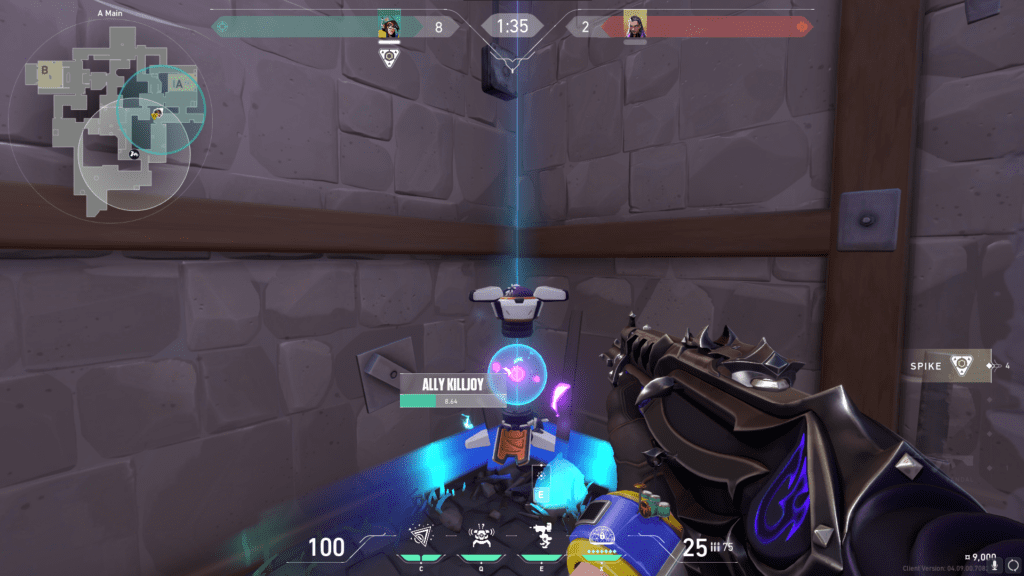
Nanoswarm
- Cost: 200 credits, up to 2 total
- Duration: 4s
- Damage: 45/s
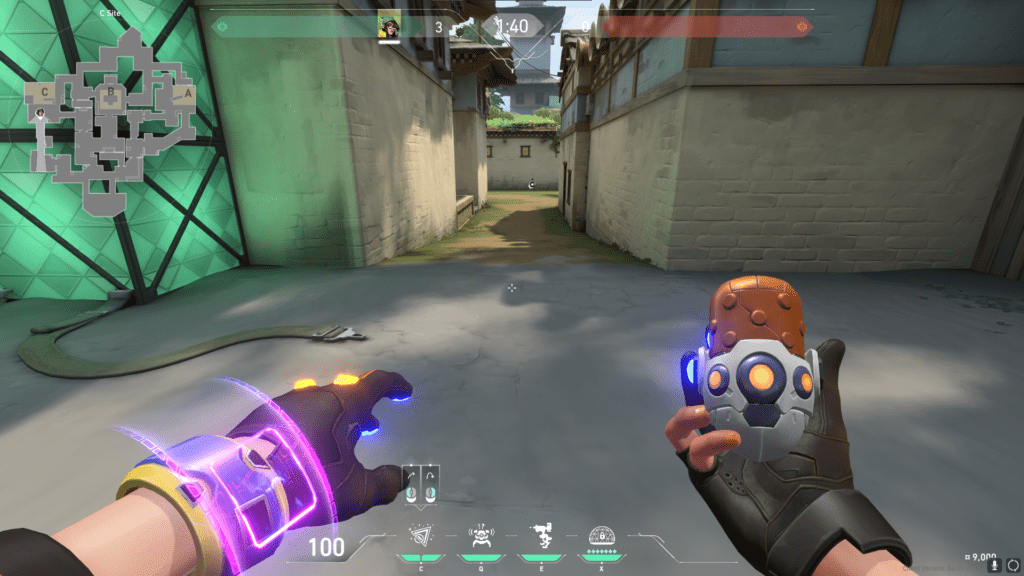
Nanoswarms are remotely activated grenades which deal a significant amount of damage over time to anyone within their range, which is clearly visible. It’s often a good idea to play in a safer location back or offsite as you need to look directly at the grenades to activate them, which could leave you vulnerable if peeked.
The ideal way to place your swarm grenades is to keep them close together and activate them at the same time to make them much more difficult to escape. Even if your opponent does manage to get out, it’ll only take a couple of bullets to finish them off, so make sure to hold the edge and be ready to capitalize on the damage dealt.
You could also put them on default plant locations, allowing you to easily deny a plant or defuse. All you have to do is wait for the sound cue and activate them, and you’ll almost certainly take away a big chunk of health, as well as buying your team more time!
On attack, you can use your Nanoswarms like a molly to clear out angles, but be ready to pop them quickly. Your enemy will be able to see it landing and will probably swing immediately, which could catch you off guard if you’re looking down in order to trigger it.
An example of a strong defense setup is placing 2 grenades on lane on B site Ascent. The path is very narrow and it’s hard to fall back, especially if multiple players are pushing together. This makes them sitting ducks to the nades, and if you sit in boathouse you can quickly peek to finish them off!

Since this is quite a well-known location, teams will often completely avoid lane or expend more utility to deal with your setup. This can force them out into the open, where your team has more of an advantage with the gunfights, or bait out util so they have less to work with to stop your retake. Abilities which deal damage like Sova’s shock darts can be used to destroy your nades and other utility.
It’s important not to wholly rely on swarm grenades, however, as they can be destroyed if shot by the enemy. They’re even visible up close – if they look carefully enough, they can see a pink outline. Sometimes they might even try to pre-fire likely spots from further away.
There are a couple of things you can do to counter this – the first is to constantly switch up the locations of your nades so they can’t be easily destroyed; unpredictability is key here. The other option is to make use of lineups so you have more control over when they are used and prevent them being destroyed beforehand. However, you need to activate quickly after your lineup lands, as they might be ready to destroy it before you can trigger it. For this reason it’s most likely to be effective when there is only one enemy as they can’t have a teammate watching out for the lineup to protect them.
Alarmbot
- Cost: 200 credits
- Cooldown: 20s after recalled
- Health: 50hp
- Effect: 4s vulnerable
Killjoy’s Alarmbot is triggered when an enemy comes within range, both alerting you to their presence and also making them vulnerable for a few seconds. This means it’s not only useful for getting info but also dealing more damage. The vulnerable effect makes players take double the damage from all sources for its duration!
Although at a glance it appears to be similarly useful to Cypher’s tripwires, it’s generally not a good idea to use the alarm bot to watch flank, as her turret is better used for another tactic (as we’ll go into more detail about in the next section!) Instead, it’s more valuable to make sure you can take full advantage of the vulnerable effect by placing it closer to you.
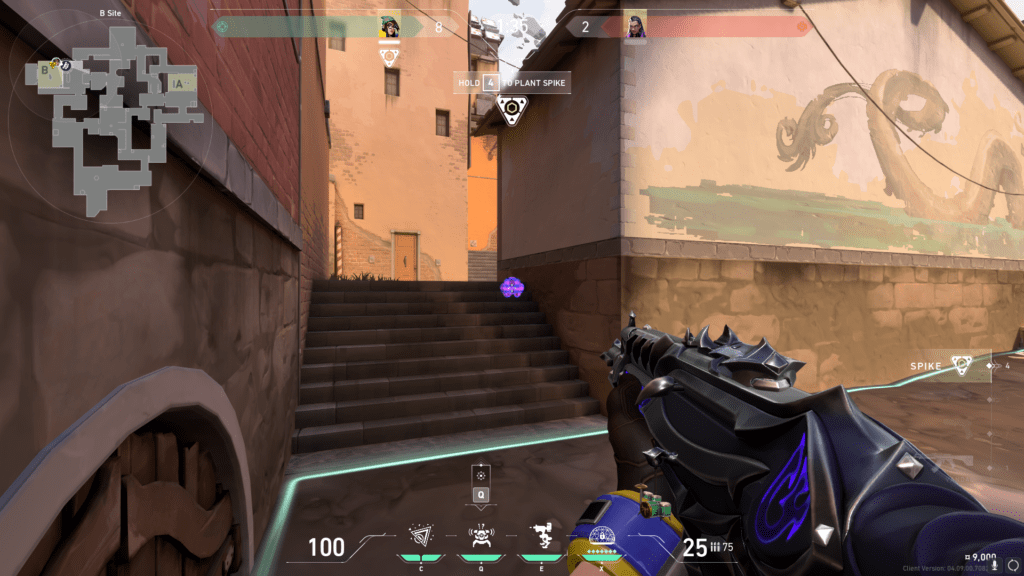
For example, placing it on stairs on B site Ascent alerts you when you’re being pushed from that angle, giving you time to swing off of the information gained and fully capitalize on the inflicted vulnerability. There are many other similar places on all maps where you can have the same kind of impact too. When attacking, you could even put it by the spike, providing it’s planted open.
It can also make a powerful combination with swarm grenades to help you effectively time when to set them off, as well as do more damage – you’re much more likely to finish off an opponent if they’re vulnerable. Be aware that they do make a loud humming sound audible to the other team when they’re close, which could help them to avoid or destroy it.
Another useful feature of the alarm bot is that you can recall it, so if you want to head to a different site, you can take it with you and place it somewhere else. The cooldown time is much shorter after recalling than after it’s been destroyed. Would you consider, then to risk recalling an almost destroyed bot?
Turret
- Cost: Free
- Cooldown: 45s after destroyed, 20s after recalled
- Health: 125hp
- Damage: 0-20m – 8, 20-35m – 6, 35m+ – 4 (3 shots per burst)
Turrets rarely deal enough damage to kill opponents (although it’s always funny when they do!), instead they’re much more valuable at providing information. They will shoot whenever an enemy comes into range, giving you an audio cue.
On defense, you can place the turret to watch certain angles so you don’t need to hold them yourself – instead, you can peek off it shooting. You could think of it like a tiny teammate you’re deliberately baiting! The other team will need to destroy it to prevent giving you more info so you can often catch them while their crosshair is in the wrong place and get an easy pick.
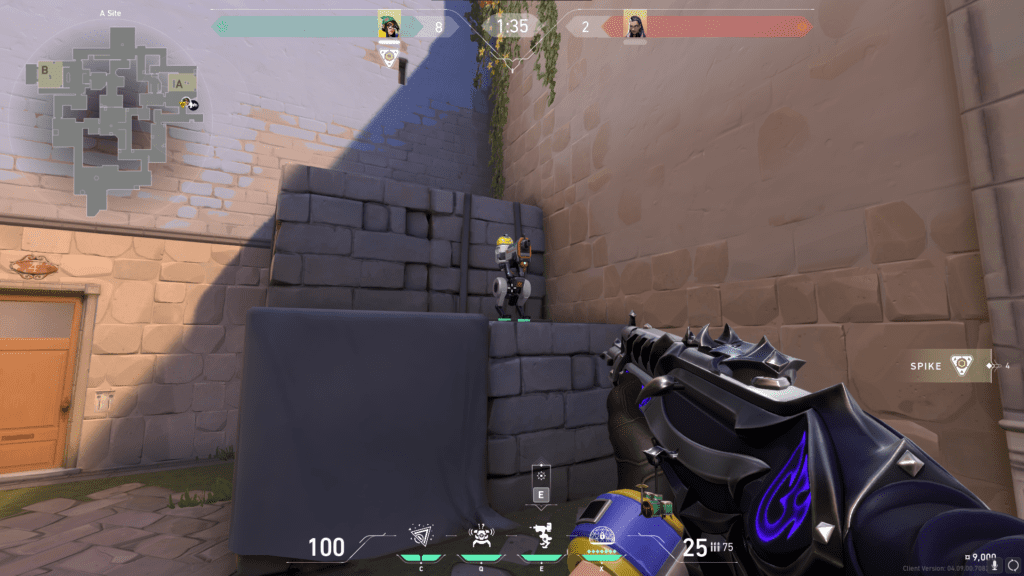
Turrets are also very strong at watching flank for you, as when placed strategically they cannot be avoided. A flanking opponent will be forced to shoot it and either give up on the attempted sneaky play or continue knowing that they’re now expected. Just make sure you don’t stray too far from it, as it will deactivate when you’re out of range. It also has a 180-degree range, so be cautious that it isn’t exposed from the back!
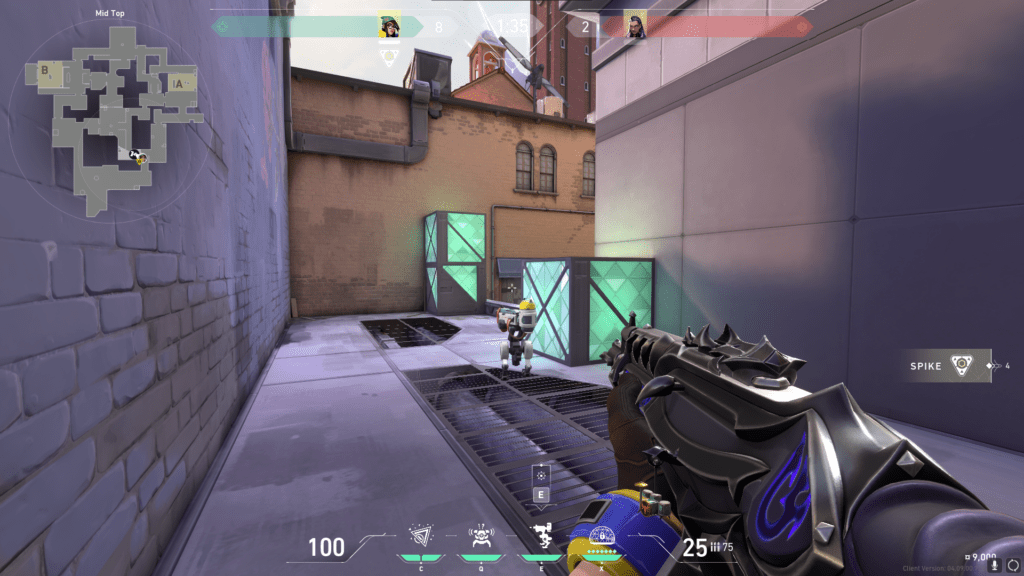
Like the alarm bot, you can recall it if you’re rotating, enabling you to get more use out of it. Another way to get valuable info is turret peeking – place your turret directly in front of you in an area which is exposed to the other team, and they’ll have to destroy it, which can reveal their positions to you and potentially enable you or a teammate to get a good timing on them while they’re distracted.
Your turret can also be used in combination with your other abilities to anchor a site. Peek off the information given by the turret shooting or your alarm grenade being set off, or use them to be alerted to when they’re in range of your swarm grenades.
Lockdown
- 7 points
- Windup: 13s
- Health: 150hp
- Effect: 8s detain
Lockdown allows you to effectively clear an entire site, as you force the other team to abandon their positions to find a safe location and avoid being detained – this makes it a great tool for site executes and retakes. It’s not always possible to cover as wide an area as you would like, so be sure to carefully clear corners where opponents could have hidden to dodge the effects.
Don’t push immediately to give time for the ultimate to go off, because your enemies can afford to continue to hold angles for a few seconds before needing to fall off. You should time it for just before it’s about to complete, as you want to make sure to catch detained players and give yourself enough time to take the site before they are safe to push again.
You need to be wary of where you place your Lockdown as it can be destroyed either by being shot or targeted by abilities. Since it shows up on the other team’s minimap, it not only reveals your exact location, but also makes it much easier for them to aim a Sova or Brim ult at it to cancel. Try to time using it when the other team has no counter-ults available for maximum impact.
That’s all for our Valorant Killjoy guide! If you found this article helpful, be sure to check out our site for more!
PUBG, Fortnite, Whatever-Game fanatic. Food evangelist. Internet ninja. Friendly communicator. Twitter fan. Zombie fanatic.